
 |
| From april 2012 |
 |
| From april 2012 |
 |
| From april 2012 |
|
| From april 2012 |
 |
| From april 2012 |
I use picasa to edit all of my photos, and use picasa web albums to store my photos.
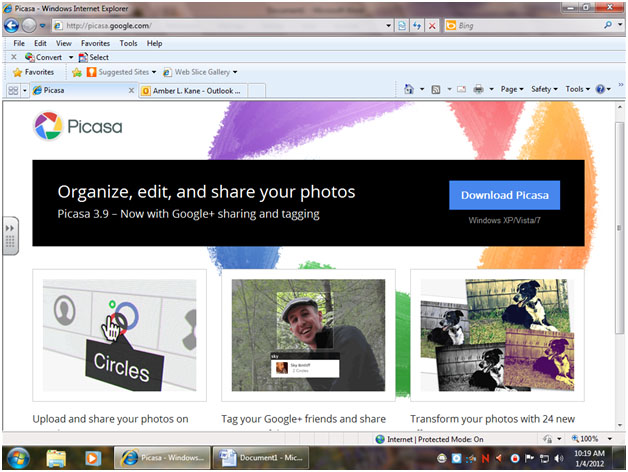
Download Picasa: http://picasa.google.com/
- Click download Picasa- Click run
- Agree
- Tell it to install
- Basically say “yes” or “run” to all of the windows that pop up at you
2. Choose where you want the file to be installed. I like to have mine on my desktop so that it easy to access. But is your choice based on how you like to organize your computer.
3. It will ask you if you want it to access photos from your computer, that is your choice. If you say yes, it will upload any photos that you have on your computer into Picasa, so that you can edit them if you wish. If you say no, then you will have to manually bring photos into Picasa.
This is the main screen that comes up when you first open Picasa
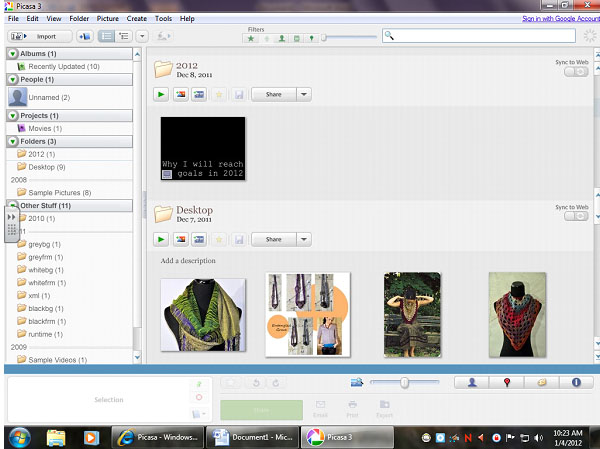
1. Import: if you have new photos that you wish to bring into Picasa to edit you need to click the import button
2. This is section shows you photos that you have brought into Picasa, if you wish to edit one of them double click on the image.
3. If you have made any videos using Picasa this is where they are stored
4. This section shows you all of your folders, this is where your albums will be stored to help you keep all of your photos organized.
Let’s Import some photos:
Step 1: Click the import button (1) You will then see a screen that looks like this.

Step Two: You need to tell your computer where you wish to get photos from. Click on the drop down menu (5) and you will need to select your camera, or the name of the folder on your computer that you want photos from.
Step Three: (6) You need to create a folder that the newly imported photos will be stored in. You have two options, you can add photos to a folder that you already created by dropping down the “my pictures” folder and selecting a folder that you already created, or create a new folder, by typing a title in the Folder title box (6)
Step Four (7): You once again have two options, 1 import all of the photos, this will import all photos there were found on the drive that selected, or you can select specific photos, and then click import selected, and only import that selected photos.

Now the fun Begins: It’s time to PLAY
8. This screen is your basic editing.
9. Tabs at the top will take you to other editing options
10. library: takes you back to all of your photos
11. Takes you to picnic which is another online free editing software
12. gives you options to share your photos

Click on the sun/moon tab for more editing options
- Here you can adjust the exposure of your photos.
o Fill Light will brighten the whole photo
o Highlights pull the bright spots from your photo and make them brighter
o Shadows pulls the shadows from your photos and makes them darker
o Color temperature will change the overall color of your photo
- If you don’t like adjusts that you make, just hit undo tuning


Pin It
1 comment:
I love Picasa too. It is so easy to understand and use and has so many fun features.
Post a Comment